No Commitment - Cancel any time
Money Back Guarantee - Just ask!

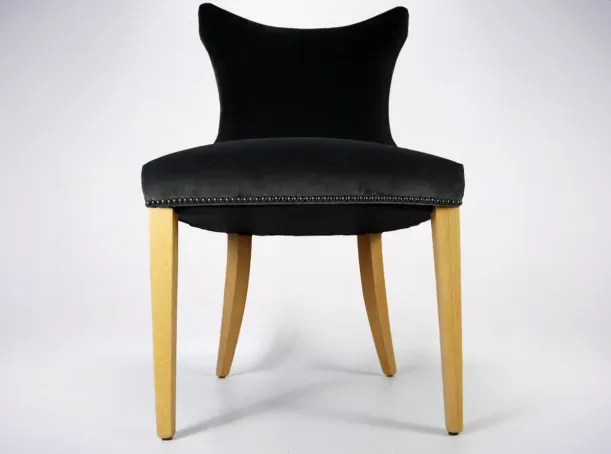
Curved Back
Chair Course
6
02:04:30
Plan:Advanced
The Curved Back Chair Course is a 6-part tutorial that will show you how to template and upholster a chair back with a significant curve.
Purchase this course
Upgrade your skills with our one-time purchase upholstery course.
Learn step-by-step techniques—no subscription needed.
👉 Buy once, access forever!
What you will learn
During this course you will learn how to take a template of a curved back chair before upholstering the inside, outside and seat of the chair.
The significant curve of the chair we demo in this course is challenging but we will so you the process to ensure your seams are perfect and sit correctly in the corners.
Advanced courses deliver high quality outcomes. The course finishes with a lesson on 'bottoming' your chair with a dust cover and adding the finishing touches with some studs.
Choose Your Lesson
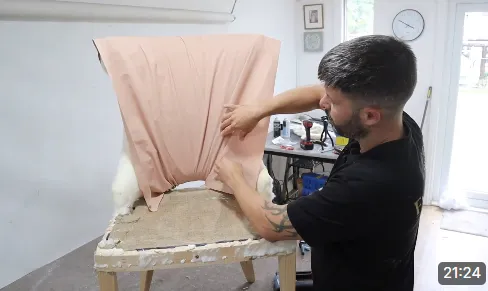
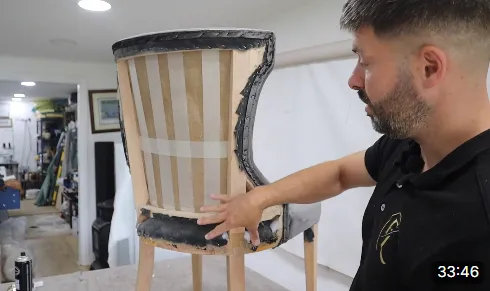
1. How to Take a Template of an Inside Back of a Curved Chair
In this video we show you how to take a template of an inside back with a significant curve and a shape to it.
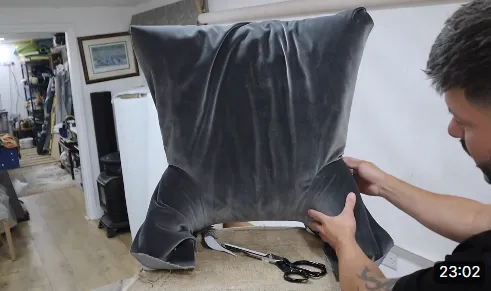
2. How to Upholster an Inside Back of a Curved Chair
In this video we show you how to upholster an inside back with a significant curve after using a template to get the seams into the correct place.
3. How to Take a Template, Cut and Upholster a Seat of a Chair
We show you how to take a template of a seat to make sure your seams sit perfectly on the corners.
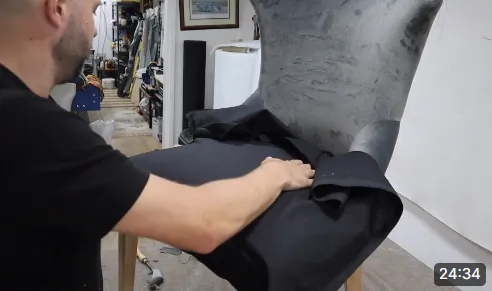
4. How to Upholster an Outside Back of a Curved Chair
With a significant curve like this one, you cannot use cardboard strip like we usually do across the top so we show you how to get around that.
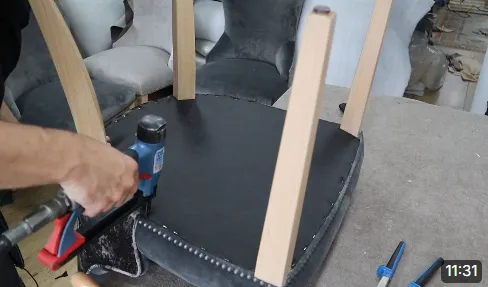
5. How to Put a Bottom on a Curved Chair
In this video we show you how to put a bottom (dust cover) on to a curved chair like this one.
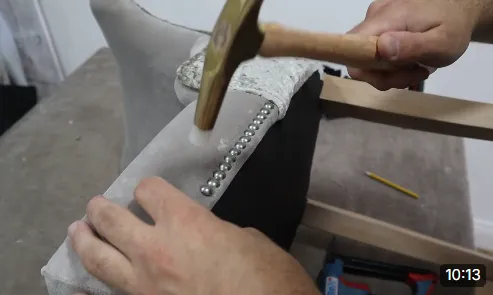
5. How to Add Studs to a Chair
This video is the last part of the series for this curved back chair, however it can also be a standalone video showing you how to add studs a chair or sofa.